

If you’re looking to add a touch of creativity and elegance to your dessert repertoire, silicone mold dessert recipes are the way to go. These versatile molds offer endless possibilities for creating stunning desserts that are sure to impress both your family and guests. From delicate custards and mousses to intricate cake designs, silicone molds allow you to experiment with different shapes and textures, taking your desserts to a whole new level.
One of the great advantages of using silicone molds is their flexibility, which makes it easy to release the desserts without any damage. Whether you’re making individual mini cakes or a large centerpiece dessert, these molds ensure smooth edges and precise details every time. Plus, they’re non-stick, so there’s no need for greasing or flouring before baking.
Silicone Mold Dessert Recipes
Choosing the Right Silicone Mold
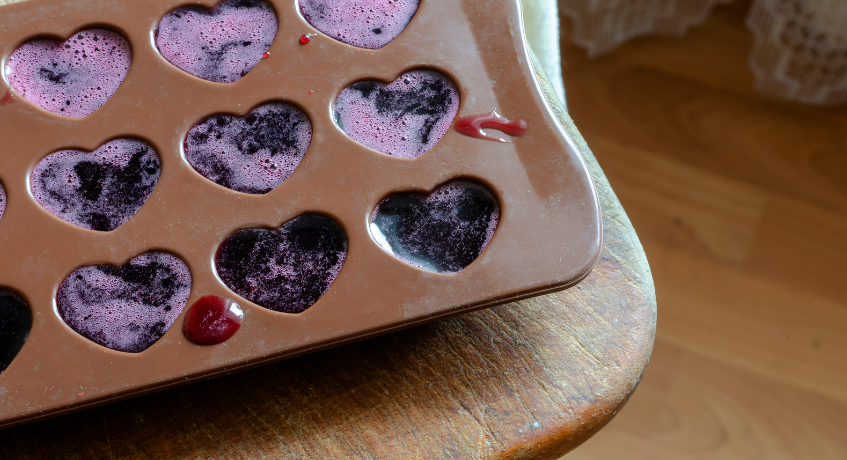
When it comes to creating a decadent chocolate cake using a silicone mold, selecting the right mold is key. Silicone molds come in various shapes and sizes, allowing you to get creative with your dessert presentation. Whether you prefer a classic round shape or want to experiment with unique designs like hearts or flowers, there’s a silicone mold out there for everyone.
Consider the size of your cake and the number of servings you’ll need. If you’re baking for a large gathering, opt for a larger silicone mold that can accommodate more batter. On the other hand, if you’re aiming for individual-sized portions or smaller cakes, choose smaller molds accordingly.
Additionally, pay attention to the quality of the silicone mold. Look for molds made from food-grade silicone that are BPA-free and heat-resistant. This ensures that your cake will release easily from the mold without any sticking or tearing issues.
Prepping the Ingredients
Before diving into mixing and pouring your batter, make sure all your ingredients are prepped and ready to go. Start by preheating your oven according to the recipe instructions; this will ensure an even bake throughout.
Next, gather all your dry ingredients such as flour, cocoa powder, sugar, baking powder, and salt. Sift them together into a bowl to remove any lumps and achieve a smooth texture in your cake.
In another bowl, gather all your wet ingredients like eggs, milk (or buttermilk), vegetable oil (or melted butter), and vanilla extract. Whisk them together until well combined and set aside.
To add an extra layer of flavor to your chocolate cake recipe, consider incorporating some additional ingredients like instant coffee granules for depth or chopped nuts for added texture. These optional additions can take your cake from delicious to extraordinary.
Mixing and Pouring the Batter
Once all your ingredients are prepped and ready, it’s time to mix and pour the batter into your silicone mold. Start by combining the wet and dry ingredients together, gradually incorporating the dry mixture into the wet mixture. Stir until just combined, being careful not to overmix as this can result in a dense cake.
Now, take your selected silicone mold and lightly grease it with cooking spray or brush it with melted butter. This step ensures easy release of the cake once it’s baked. Pour the batter into the mold, filling it up about three-quarters full to allow room for rising.
Gently tap the mold on a countertop to release any trapped air bubbles and ensure an even distribution of batter. Place the filled mold onto a baking sheet for stability and transfer it to the preheated oven.
Bake according to your recipe instructions, keeping an eye on the cake’s progress as baking times may vary depending on your oven. Once baked, remove from the oven and let cool in the silicone mold for a few minutes before carefully turning it out onto a wire rack to cool completely.
With these tips in mind, you’re ready to embark on creating a decadent chocolate cake using your chosen silicone mold. Get creative with flavors and decorations, experiment with different shapes, and enjoy indulging in a homemade dessert that’ll impress both family and friends alike! Delicious Fruit Tart Recipe
Bob Duncan is the lead writer and partner on ConversationsWithBianca.com. A passionate parent, he’s always excited to dive into the conversation about anything from parenting, food & drink, travel, to gifts & more!