
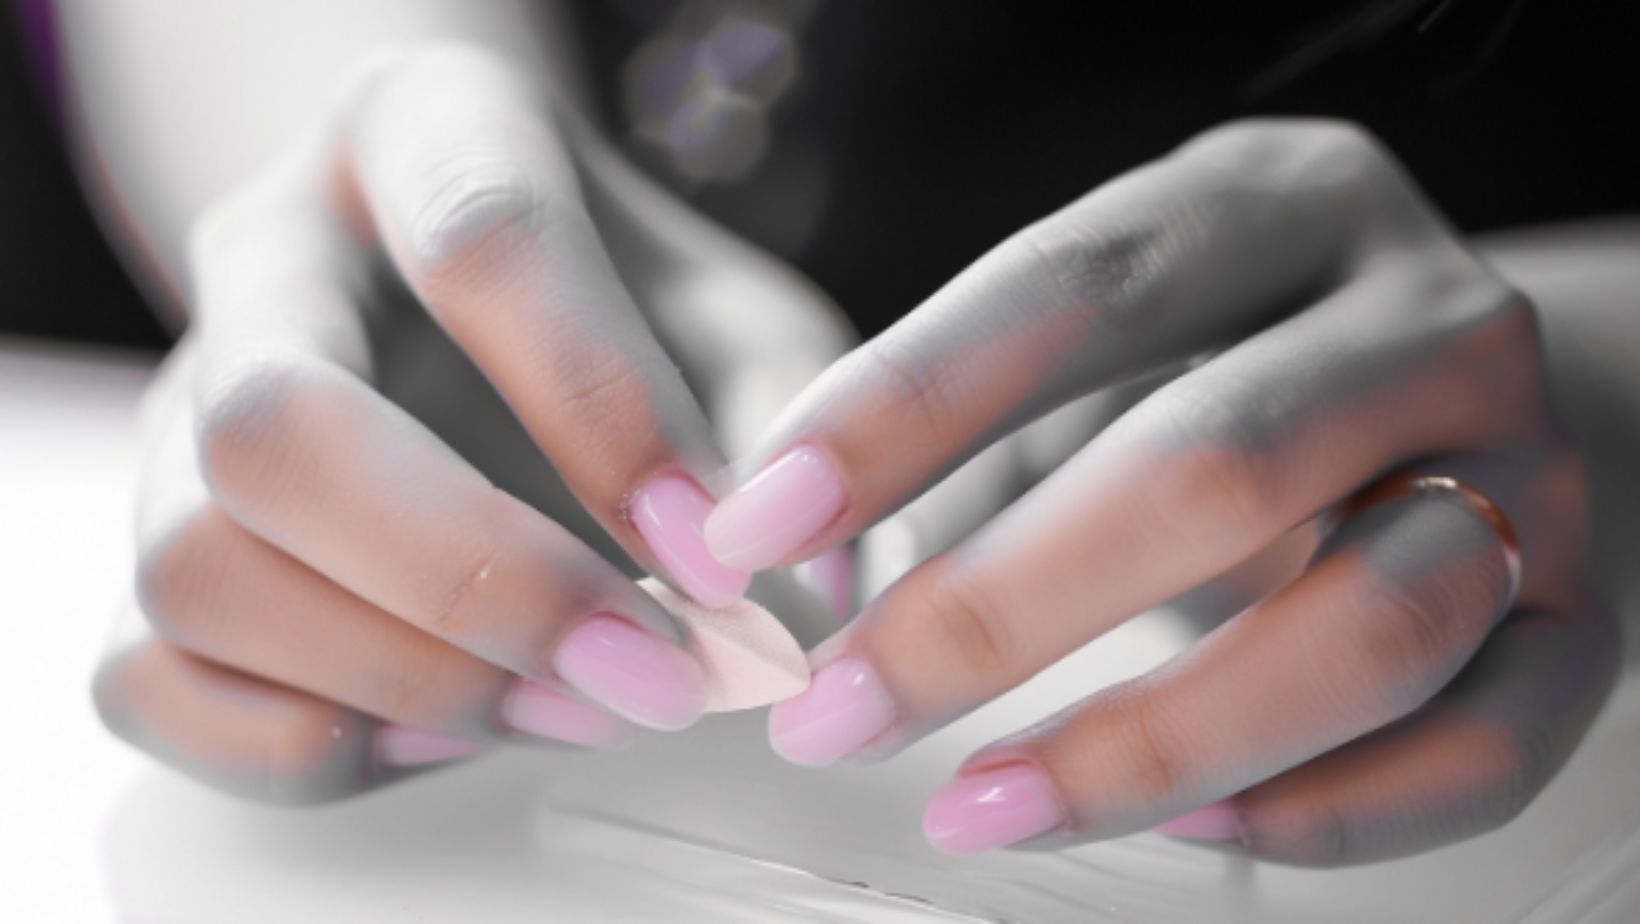
A nail buffer is a tool in the nail care arsenal that serves the purpose of polishing fingernails and toenails to a shiny, smooth finish. Its use is not only cosmetic; a good buffing session can also even out ridges and improve the overall health of your nails by increasing blood circulation to the nail bed. Buffing is a relatively simple procedure that involves gently rubbing the surface of the nail with a buffer, which typically has different sides for filing, smoothing, and shining.
While the nail buffing process is straightforward, using the right tools can make a significant difference in the outcomes. Quality nail-buffing tools are designed to minimize damage to the nail plate while maximizing shine. Maintaining a regular buffing routine can contribute to the appearance and health of your nails, but it’s important to do so with care—over-buffing can lead to thinning and weakening of the nails. When selecting a buffer, look for one that suits your specific needs and is gentle on your nails.
Key Takeaways
- Buffing nails promotes smoothness and increases blood circulation.
- Correct tools and techniques ensure safety and enhance nail health.
- Regular, gentle buffing can improve nail appearance and strength.
Understanding Nail Buffers and Their Purpose
Nail buffers are essential tools for achieving smooth, polished nails. Selecting a suitable grit is fundamental in nail care. Onsen nail buffer is especially helpful after acrylic nails but also works great to keep healthy nails strong.
Types of Nail Buffers
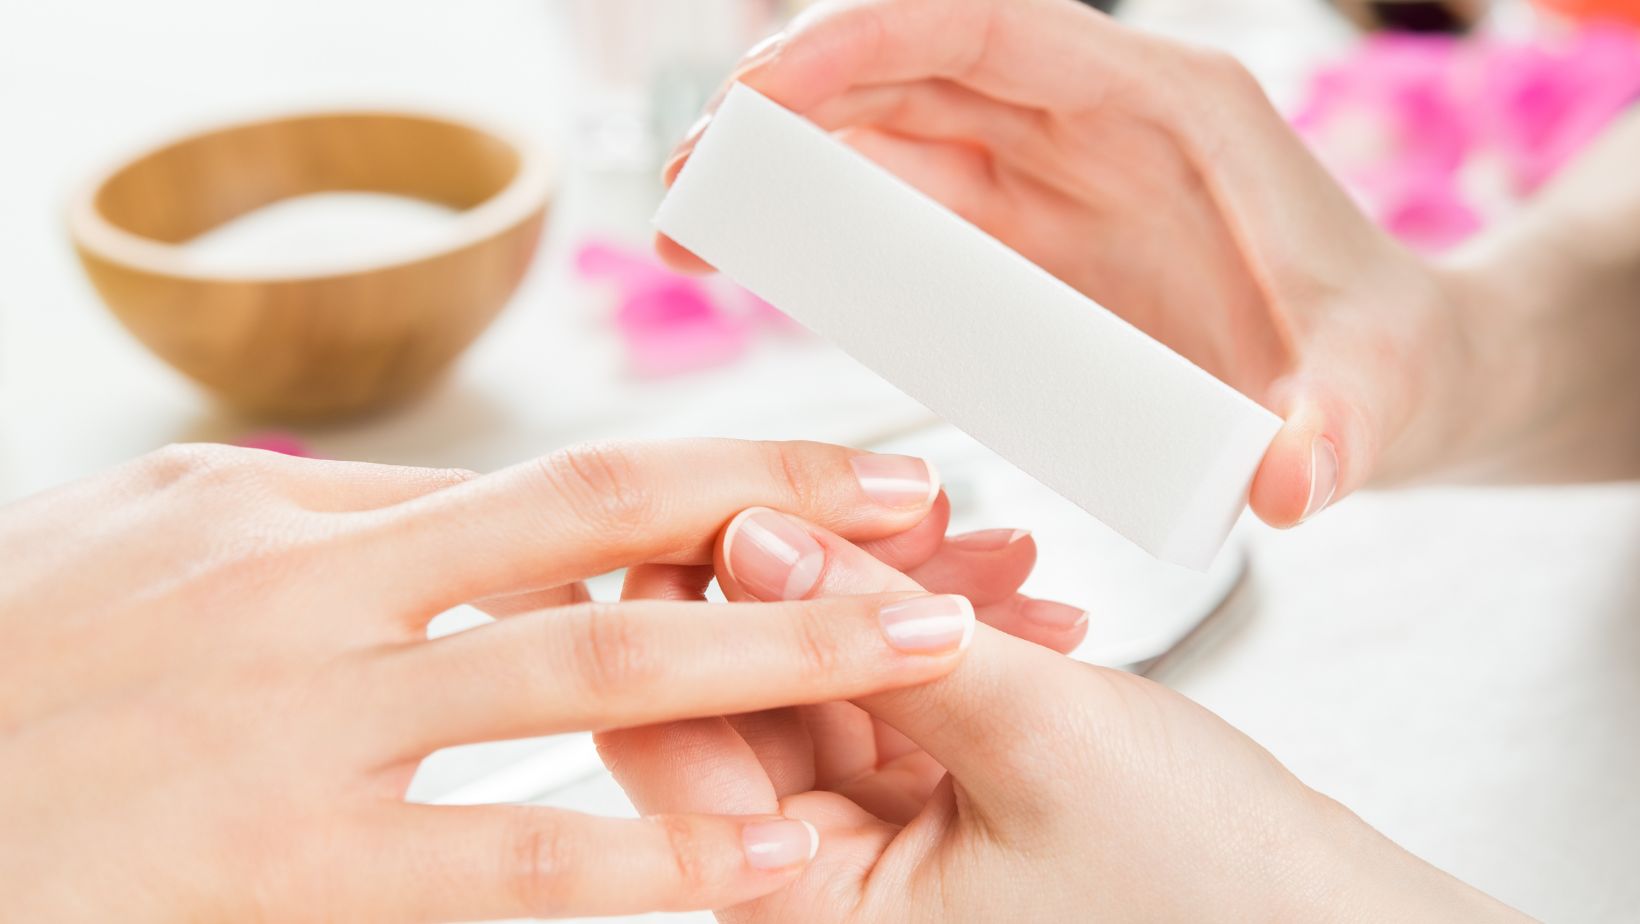
Nail buffers come in various forms, each designed for specific steps in nail preparation and care. A typical buffer is a buffer block, which is a four-sided tool with different grits on each side, allowing for filing, smoothing, buffing, and polishing.
- Buffer block: This all-in-one tool features different surfaces for multiple nail care steps.
- Chamois buffer: Made with a leather fabric affixed to a block, it buffs nails to a high gloss.
Choosing the Right Grit
The grit level of a nail buffer indicates the coarseness of the abrasive surface. Grit numbers range from low (coarser) to high (finer):
| Grit Type | Grit Number Range | Purpose |
| Coarse grit | 60-100 | Rapidly reduce nail length and surface |
| Medium grit | 180-220 | Shape nails and smooth edges |
| Fine grit | 240-600+ | Buff nail surface to a shine |
Choose lower grit numbers (e.g., coarse grit) for shaping and higher numbers (e.g., fine grit) for finishing touches.
The Nail Buffing Process
Nail buffing is a crucial step in a manicure that enhances the natural shine of your nails while smoothing out ridges and imperfections. When done correctly, it leaves your nails glossy and prepped for nail polish or attractive even without any polish.
Proper Buffing Techniques
To achieve beautifully buffed nails, follow these specific steps:
- Shape Your Nails: Begin by filing the edges and sides of your nails to your desired shape. Always file in one direction to avoid splintering.
- Start with the Coarse Side: Use the coarse side of your buffer in gentle, circular motions to even out any ridges or rough spots.
- Use Light Pressure: Apply moderate to light pressure to avoid weakening the nail structure.
- Use gentler strokes for thinner nails.
- Progress to Finer Sides: Move to the finer sides of the nail buffer for a smooth finish. The softest side will give your nails a glossy shine.
- Finish with Shine: Employ the smoothest side of the buffer in back-and-forth motions to attain a high shine.
Avoiding Nail Damage
Minimize potential nail damage by adhering to the following:
- Moderation is Key: Do not over-buff your nails. Buffing too much can thin out your nails, leading to damage.
- Buff Only When Necessary: Only buff when you notice ridges or every three to four weeks to prevent weakening your nails.
- Circular Motions: Work in gentle circular motions to evenly distribute pressure and avoid heat build-up from friction.
- Avoid the Cuticles: Keep the buffer away from the cuticles to prevent irritation or damage.
Maintaining Healthy Nails
To achieve and maintain healthy nails, it’s important to understand proper care techniques and debunk myths surrounding nail maintenance.
Nail Care Tips
Your Daily Routine:
- Keep Nails Clean and Dry: Prevent bacteria from growing under your nail by regularly cleaning and thoroughly drying your hands.
- Moisturize: Apply moisturizer or natural oils to your nails and cuticles daily to promote nail strength and health.
- Trim Regularly: Using a sharp nail clipper, trim your nails straight across, then round the tips in a gentle curve.
- Gentle Shaping: When filing your nails, do so in one direction to prevent splitting.
- Use Base and Top Coats: Applying a base coat can protect your nails from discoloration, while a top coat can add shine and longevity to your polish.

Nail Growth and Health:
- Cuticle Care: Applying cuticle oil can help protect and strengthen the cuticle area, which in turn supports nail growth.
- Blood Circulation: Massaging your hands can increase blood circulation, which is beneficial for nail growth.
- Avoid Harsh Chemicals: Limit exposure to detergents and harsh cleaning agents by wearing gloves when possible.
Common Nail Buffer Misconceptions
Fact vs. Fiction:
Misconception
Fact
Buffing nails too often is good for nail health.
Overbuffing can damage the nail surface, leading to weakness and thinning.
The harder you buff, the shinier your nails.
Buff gently with a buffer to achieve a healthy shine without causing damage.
Buffers can replace base coats during polish application.
Base coats protect your natural nails and should be used in addition to buffing.
Remember, healthy nail routines involve gentle care and knowledge about what truly benefits your nails.
Choosing Quality Nail Buffing Tools
When selecting nail buffing tools, your choice can greatly influence the health and appearance of your nails. Quality tools contribute to a natural shine and healthy glow while protecting your nails from damage.
Budget-Friendly Options
For those looking to maintain polished nails without a significant investment, there are several budget-friendly options that do not compromise efficacy. Buffer blocks and nail buffing blocks made with foam are cost-effective and readily available. They can provide a satisfactory polished finish, although they may wear out more quickly than professional tools.
- Tweezerman offers reliable buffer blocks that are durable and give a respectable shine.
- Fancii is another brand with quality buffing blocks on a budget, providing an ergonomic design that makes them comfortable to use.
It’s important to replace these tools regularly, as worn-out buffers can cause nail damage. Always use gently, especially with foam blocks, to avoid weakening the nail surface.
Professional Tools for the Best Results
For the best results and a salon-like finish, consider investing in professional-grade tools. High-quality chamois buffers and electric buffers can offer a superior shine and are designed to last a long time.
Fact vs. Fiction:
| Misconception | Fact |
| Buffing nails too often is good for nail health. | Over-buffing can damage the nail surface, leading to weakness and thinning. |
| The harder you buff, the shinier your nails. | Buff gently with a buffer to achieve a healthy shine without causing damage. |
| Buffers can replace base coats during polish application. | Base coats protect your natural nails and should be used in addition to buffing. |
Remember, healthy nail routines involve gentle care and knowledge about what truly benefits your nails.
When using electric buffers, follow the manufacturer’s instructions carefully to prevent overheating or over-buffing, which can weaken nails.
Though more expensive initially, professional tools like these can be more economical over time due to their durability. Remember to clean your tools after each use, ideally with a cotton swab dipped in acetone, to maintain their longevity and hygiene.
Frequently Asked Questions
In this section, you’ll find direct answers to common inquiries about nail buffers, ensuring you get the most out of your nail care routine.
How Do You Properly Use A Nail Buffer?
To properly use a nail buffer, start with clean, dry nails. Hold the buffer parallel to your nail and use gentle side-to-side or circular motions. Avoid over-buffing to prevent the thinning of the nail plate.
What Are The Benefits Of Using An Electric Nail Buffer?
An electric nail buffer can save time and provide a consistent finish. It’s designed for efficiency and can help achieve a professional level of shine without much effort.
How Does A Nail Buffer Block Differ From A Traditional Nail File?
A nail buffer block is designed to smooth and polish the nail surface, while a traditional nail file shapes the edges of the nails. The buffer typically has a softer, less abrasive surface than a file.
What Techniques Ensure The Best Shine When Using A Nail Buffer?
Use light pressure and buff in one direction for a consistent high shine. Ensure your nails are clean, and apply a small amount of oil to the nail surface afterward to enhance the shine.
Which Nail Buffer Is Considered The Best On The Market?
The best nail buffer varies based on personal preference and needs but look for one with multiple grit options and durable construction. Reviews and recommendations from professionals can also guide your choice.
What Are The Alternatives If You Don’t Have A Nail Buffer?
Alternatives include using a fine-grit nail file gently on the surface of your nails or polishing them with a soft cloth or chamois leather for a natural shine.
Bob Duncan is the lead writer and partner on ConversationsWithBianca.com. A passionate parent, he’s always excited to dive into the conversation about anything from parenting, food & drink, travel, to gifts & more!